Moistest Turkey Meatballs Ever
Ground Turkey doesn’t have to be dry!
Turkey is one of the leanest meats and is so good for cardiovascular health. Sad thing is, a lot of times, many recipes with ground turkey result in the turkey being a protein we feel obligated to eat without enjoyment because it dries out easily once under heat.
With my recipe, you no longer have to suffer through dry ground turkey. We’ll make them into meatballs so that we can capture and lock in that moisture into the turkey.
This recipe is also perfect for those of us with gluten sensitivity because we are using rice flour!
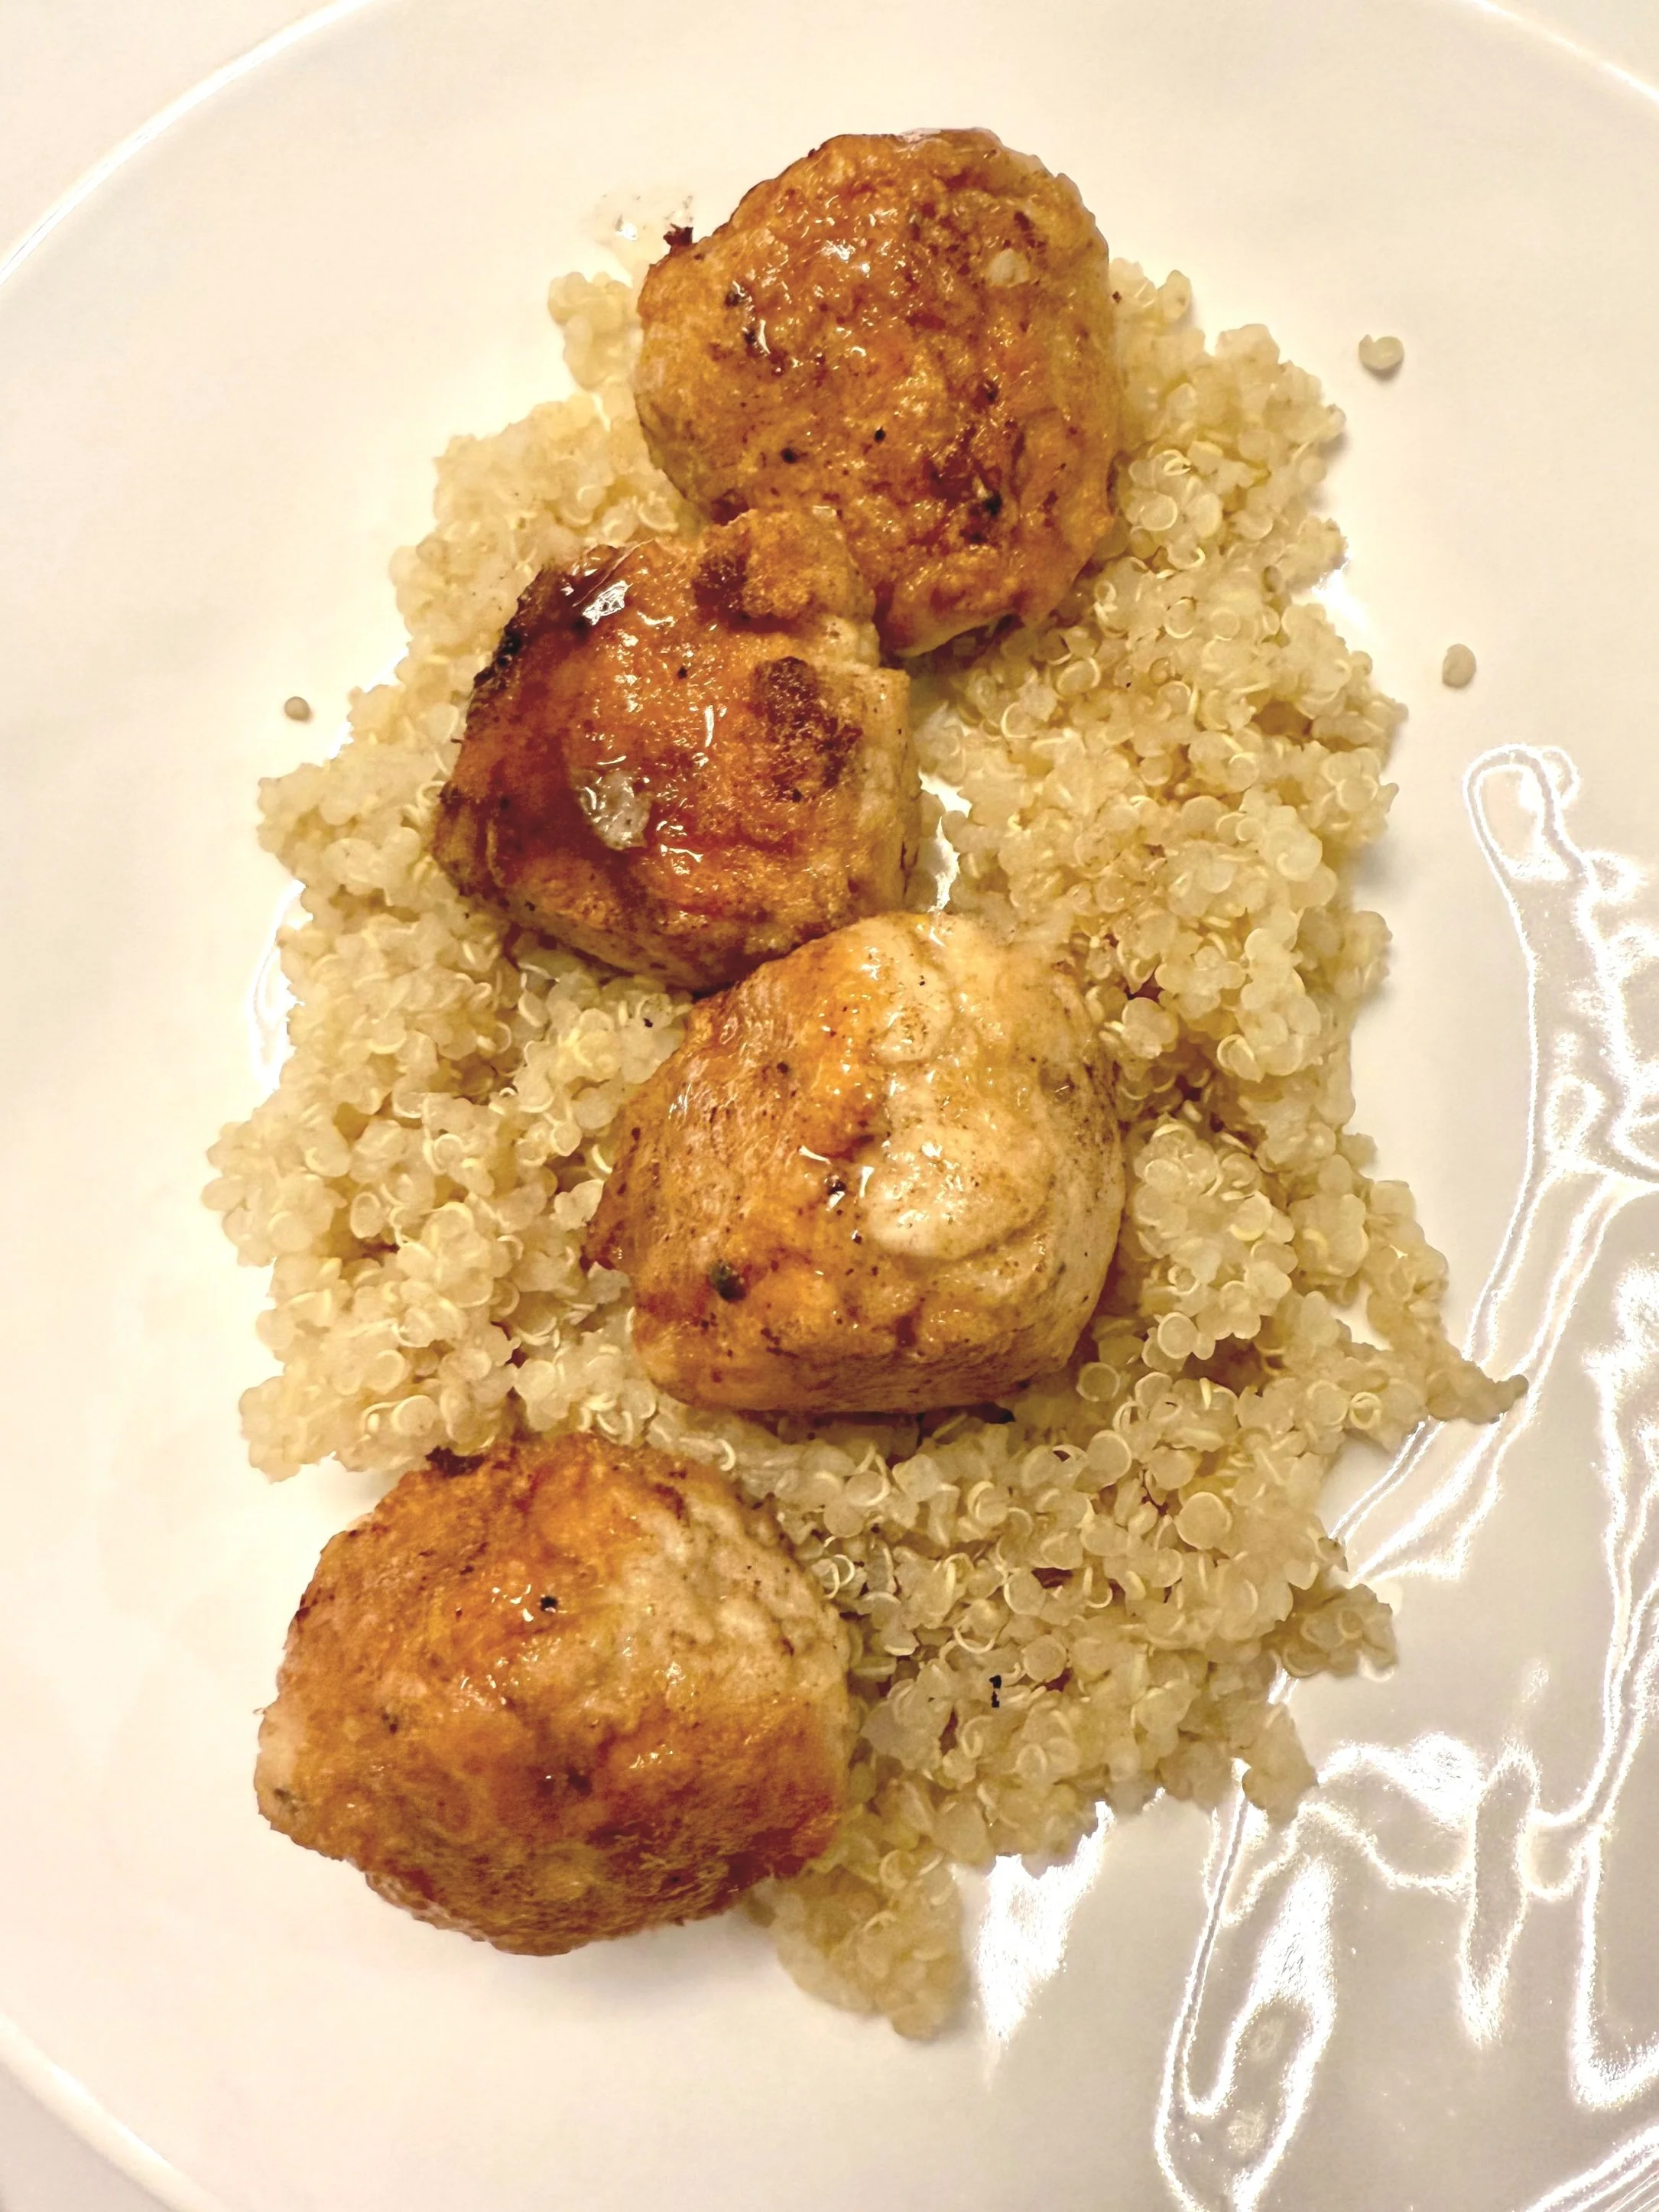
This recipe produces ~2-3 servings. It’s a great paired with couscous, as finger food for parties, or a protein-filled afternoon snack. Dress it with your favourite sauce (bookmark this site because I’ll be releasing more recipes for sauces that pair well with this recipe too!).
Meatball marination
Optional herbs: oregeno, BBQ seasoning, cumin (if you want a middle eastern flare)
☐ Ground Turkey (450 g)
☐ Basil
☐ White Pepper (0.5 tbsp)
☐ Salt (adjust to preference)
☐ Black Pepper (adjust to preference)
☐ Rice Flour (2 Tbsp)
☐ Cornstarch (2 Tbsp)
Instructions
Marinate: In a bowl, mix in the ground turkey and herbs for the meatball marination. Tip: make sure the rice flour and cornstarch are thoroughly mixed into the meat. Store in the fridge for at least a few hours, or overnight.
Ball ‘em up: Take the bowl of marinated meat out of the fridge. Get a small bowl of rice flour (this is your “breading”). Start making balls out of the ground meat and rolling it into the rice flour. Place the “breaded” balls onto a tray/ clean flat surface (like cookies on a tray).
Pan Frying time: Heat up a little cooking oil (I prefer avocado oil, for the healthiness of it and also because it has a high smoking point) in a pan. If it bubbles when you stick a wooden chopstick in it, it’s ready. Gently put a breaded ball in one at a time. Feel free to add more oil into the pan as things heat up. Gently turn the balls onto the side, ensuring all sides are pan fried. Ideally, 30 seconds on each surface. Each surface should be heated on the oiled pan for at least 2-3 times. You can stop frying the ball when all sides are golden brown (like the picture above).
Note: each pan and stove heats up differently, so I suggest you try frying one ball first to understsand how fast the heat transfers to cooking the whole ball and then apply that understanding to cook the rest of the balls.
And voila! Easy as 1-2-3. If you have extras, feel free to pop them into the freezer after they cool off and you can always reheat them in an airfryer, oven, or microwave.